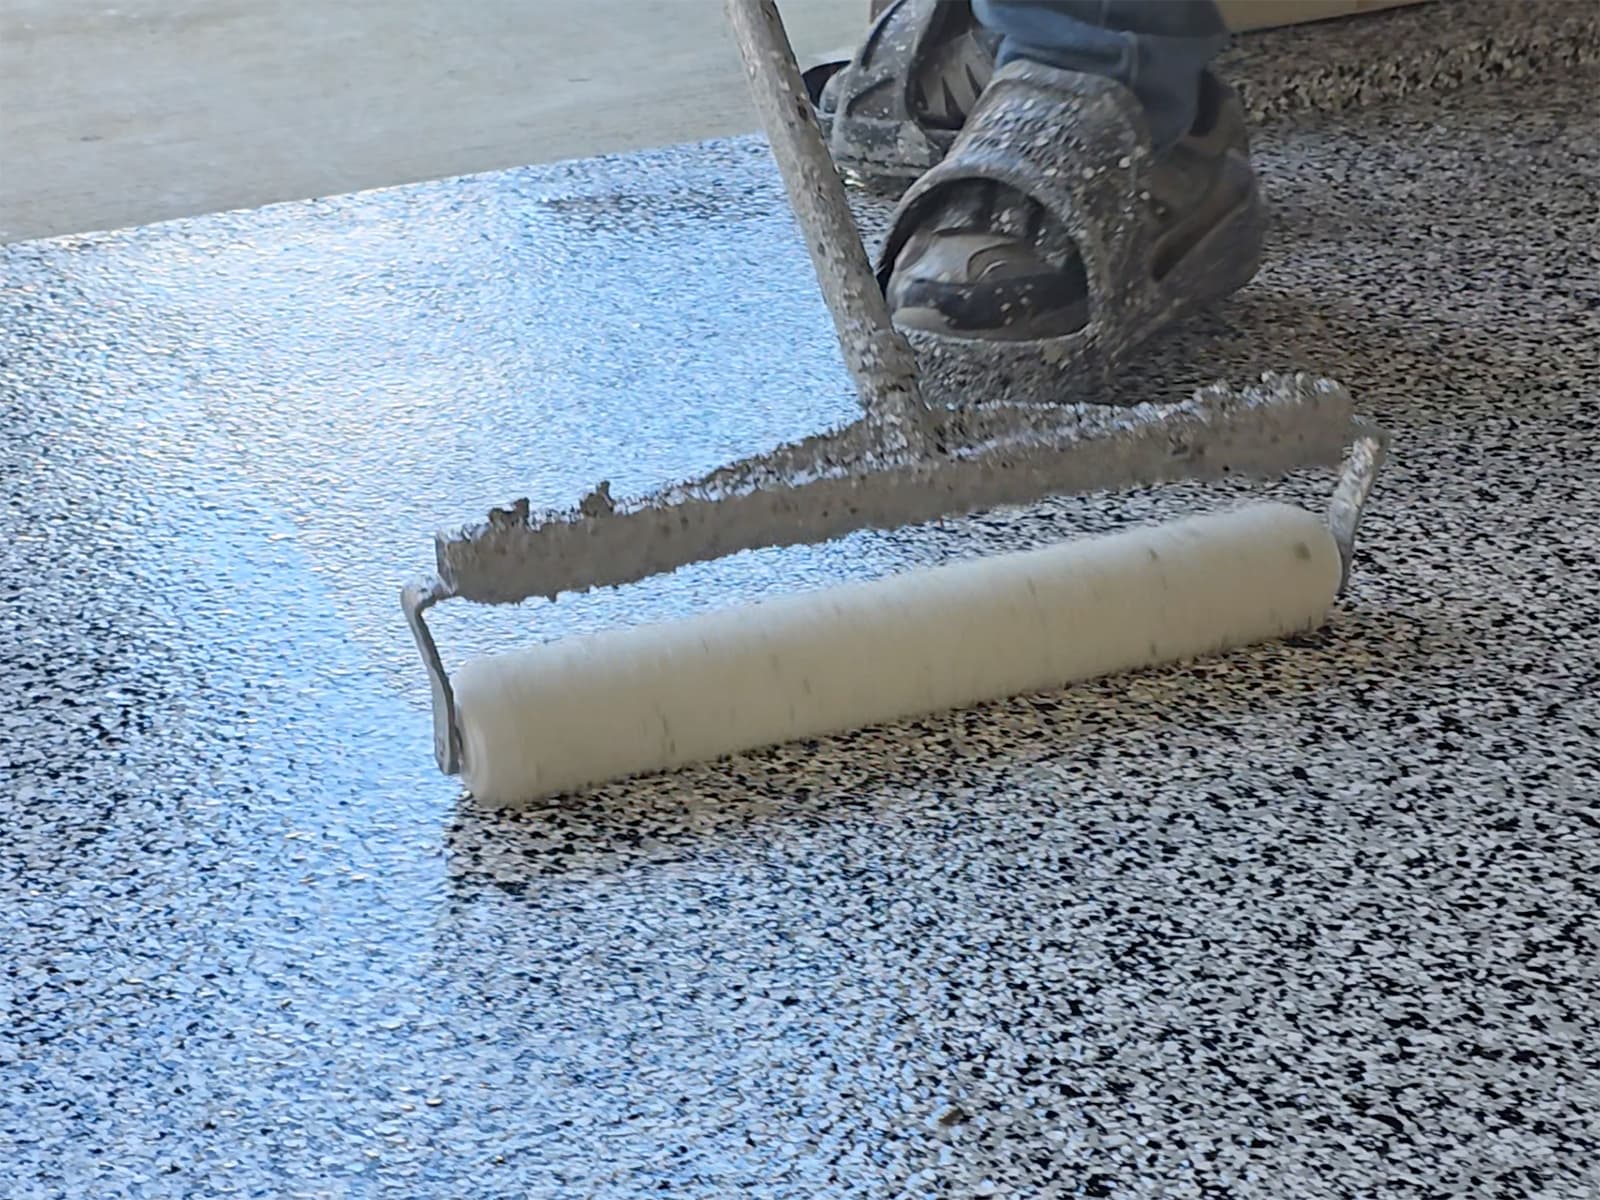
The Epoxy Garage Floor Installation Process
At Elite Floor Solutions, we pride ourselves on delivering exceptional epoxy flooring solutions to homeowners and businesses in Chattanooga, TN, and the surrounding areas. Epoxy flooring is an excellent choice for garages, combining durability, aesthetics, and easy maintenance. In this blog, we’ll walk you through our professional epoxy garage floor installation process, showcasing the care and expertise that set us apart.
Step 1: Initial Consultation and Assessment
Every project starts with a consultation to understand your needs, preferences, and the unique requirements of your garage space. We assess the condition of your existing concrete floor, noting any cracks, stains, or imperfections. This step ensures we develop a tailored epoxy floor installation process to deliver flawless results. During this phase of your epoxy garage floor installation, we also discuss your preferred color schemes and finishes, helping you envision the transformation.
Step 2: Preparing the Surface
Proper surface preparation is critical to a long-lasting epoxy garage floor installation. Our team begins by thoroughly cleaning the concrete surface to remove dust, grease, and debris. Next, we use professional-grade equipment to grind the floor, creating a textured surface that allows the epoxy to bond securely. If cracks or holes are present, we repair them with industrial-grade fillers to ensure a smooth, even foundation. This thorough surface preparation is a key component of our epoxy floor installation process and ensures the durability of the final product.
Step 3: Applying the Primer Coat
Once the surface is prepped, we apply a high-quality primer coat. This layer enhances adhesion and provides a stable base for the epoxy garage floor installation process. The primer also helps to seal the concrete, preventing moisture from affecting the finished floor. This step is optional in the epoxy garage floor installation process, but helps ensure the final result is durable and flawless. Our expertise in primer application guarantees that every square inch of your epoxy garage floor installation is ready for the next stage.
Step 4: Laying the Epoxy Base Coat
After the primer dries, we apply the epoxy base coat. This is where the transformation truly begins. You can choose from a variety of colors and finishes to customize your garage floor’s appearance. Our team applies the epoxy evenly, ensuring a consistent and professional look. The epoxy floor installation process at this stage allows for creativity and personalization to match your preferences, making your garage a reflection of your style and needs.
Step 5: Adding Decorative Flakes (Optional)
For those who desire a unique and textured finish, we offer decorative flakes that can be added to the epoxy. These flakes come in a range of colors and sizes, allowing you to achieve a look that complements your style while also enhancing slip resistance. Including decorative flakes is an optional yet impactful part of the epoxy floor installation process. These flakes not only elevate the aesthetic of your garage floor but also add a layer of practicality by improving traction.
Step 6: Sealing with a Clear Topcoat
The final step in the process is applying a clear topcoat. This layer provides additional durability, UV resistance, and a glossy finish that makes your floor stand out. The topcoat also protects the epoxy and decorative elements from wear and tear, ensuring your floor remains beautiful for years to come. A clear topcoat application is a vital part of the epoxy garage floor installation process, offering both protection and aesthetic appeal. Our topcoat solutions are designed to withstand heavy use, ensuring your garage floor remains pristine over time.
Step 7: Curing and Final Inspection
Once the topcoat is applied, the floor needs time to cure. Depending on environmental conditions, this process typically takes 24 to 72 hours. After curing, we perform a final inspection to ensure every detail meets our high standards of quality. This last step in the epoxy garage floor installation process guarantees that your new garage floor is ready to impress. We take pride in delivering a flawless finish that adds value and appeal to your home.
Why Choose Elite Floor Solutions?
- Expertise: Our team has years of experience installing epoxy floors for garages and other spaces. We follow a meticulous epoxy floor installation process to ensure lasting results.
- Quality Materials: We use only the best products to ensure durability and aesthetic appeal. From primers to topcoats, our materials are chosen for their superior performance.
- Customer Satisfaction: Your satisfaction is our priority. We work closely with you throughout the epoxy garage floor installation process to deliver results that exceed your expectations. From consultation to completion, we ensure your vision becomes a reality.
At Elite Floor Solutions, we are committed to transforming your garage into a functional and visually stunning space. Our epoxy floor installation process is designed to provide you with a garage floor that not only meets but exceeds your expectations. Contact us today to schedule your consultation and discover how we can elevate your garage with our expert epoxy flooring services in Chattanooga, TN. Let us help you achieve the perfect combination of function and style for your home.

